

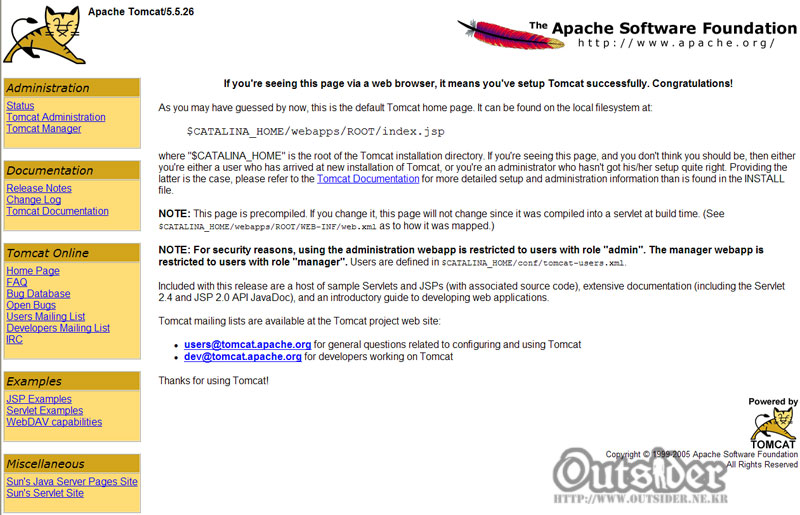
많이 본 화면일 것이다. 근데 이 페이지가 버전 4.x대처럼 jsp로 되어 있는 것이 아니라 서블릿 형태로 되어 있기 때문에 쉽게 변경되지가 않는다.
톰캣설치폴더\webapps\ROOT\WEB\INF 아래 있는 web.xml을 열어보면 아래와 같은 코드가 있다.
<servlet>
    <servlet-name>org.apache.jsp.index_jsp</servlet-name>
    <servlet-class>org.apache.jsp.index_jsp</servlet-class>
</servlet>

<servlet-mapping>
    <servlet-name>org.apache.jsp.index_jsp</servlet-name>
    <url-pattern>/index.jsp</url-pattern>
</servlet-mapping>
이 서블릿이 설정된 부분이 디폴트로 보여줄 페이지에 대한 서블릿이다. 위 코드를 web.xml에서 삭제해 준다. 물론 이부분만 지운다고 해서 해결이 되지 않는다.
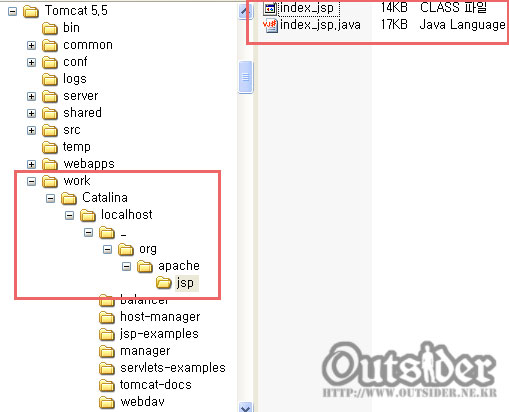
톰캣설치폴더 아래 work\Catalina\localhost\_\org\apache\jsp 에 가보면 위의 index에 대한 컴파일된 서블릿 파일이 존재하는 것을 볼 수 있다. 이 2개의 파일을 날려주어야 한다. 날려주지 않으면 계속 이 index 서블릿이 돌아가게 된다.
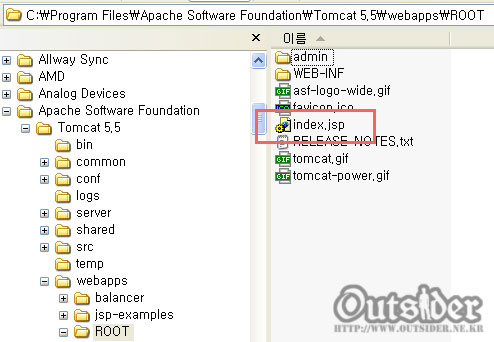
이제 ROOT폴더 아래 있는 index.jsp가 Root에 접속했을때 실제로 보여질 페이지이다. 이상태에서는 위의 스크린샷에서 본것과 똑같은 형태로 index.jsp가 보이지만 이 파일의 내용을 수정해 주면 index.jsp를 원하는대로 사용할 수 있다.

Comments